Introduction To Crochet And Materials Needed
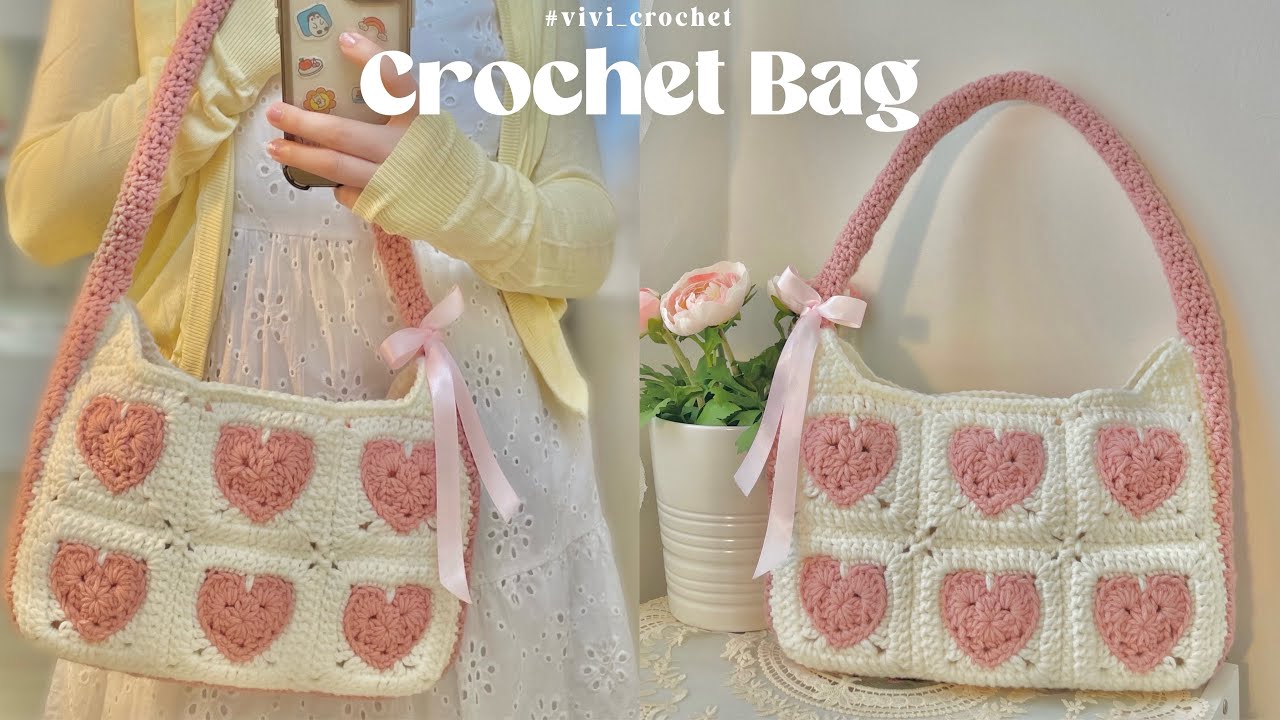
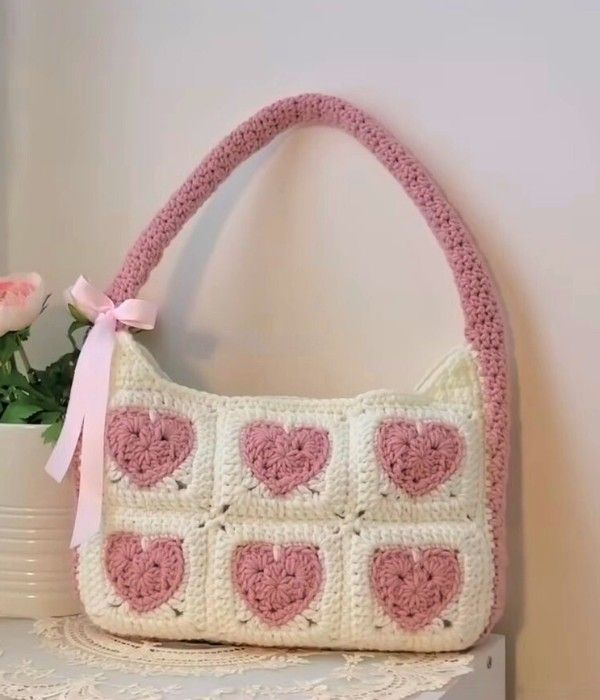
Crochet is a versatile and creative craft that allows individuals to create a wide variety of handmade items, from cozy blankets to trendy accessories. One popular project among crochet enthusiasts is the heart granny square bag, a charming and functional piece that blends style with personal expression. If you’re new to crochet or looking to expand your skills, this guide will walk you through the essentials to get started on this delightful project.
First and foremost, you will need a basic understanding of crochet techniques. Familiarize yourself with foundational stitches such as the chain, single crochet, double crochet, and slip stitch, as these will form the basis of your heart granny squares. There are abundant resources available online and in print to help you master these techniques.
Choosing the right materials is crucial for the success of your project. Opt for a medium-weight yarn in your preferred colors, ensuring you select at least two contrasting shades to make the heart pattern stand out. You’ll also need an appropriate crochet hook, typically size H/8 or I/9 for a snug but flexible fabric. Don’t forget a pair of sharp scissors for cutting your yarn.
Additionally, a tapestry needle will be necessary for weaving in loose ends and assembling the bag. With these materials at hand, you’ll be ready to embark on your crochet adventure, transforming simple yarn into a lovely heart granny square bag that reflects your unique style.
Understanding The Basics Of Granny Squares
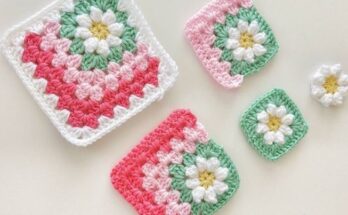
Understanding the basics of granny squares is essential when embarking on a project like a crochet heart granny square bag. Granny squares are a versatile and foundational crochet motif, often utilized in various projects due to their simple yet effective structure. Typically, a granny square begins with a small loop or chain circle, forming the center from which additional rounds are built.
The basic pattern follows a repetitive sequence of chains and double crochet stitches, resulting in a textured, visually appealing square made up of multiple clusters that create an airy lattice effect.
To make your granny square, you begin by creating a slipknot and a small number of chain stitches, forming a loop. The first round involves working double crochet clusters separated by chains into the loop, establishing the core square. Each subsequent round extends by adding more clusters into the chain spaces created in the previous round. Corners of the square are defined by adding extra chains between clusters, allowing the piece to expand outward while maintaining its square shape.
This process not only enhances your crochet skills but also frees you to experiment, as variation in yarn colors and textures can create distinctively different effects. As you become comfortable with granny squares, you’ll be well-prepared to add unique details, like hearts, to further embellish and personalize your crochet projects.
Steps To Crochet A Heart Granny Square
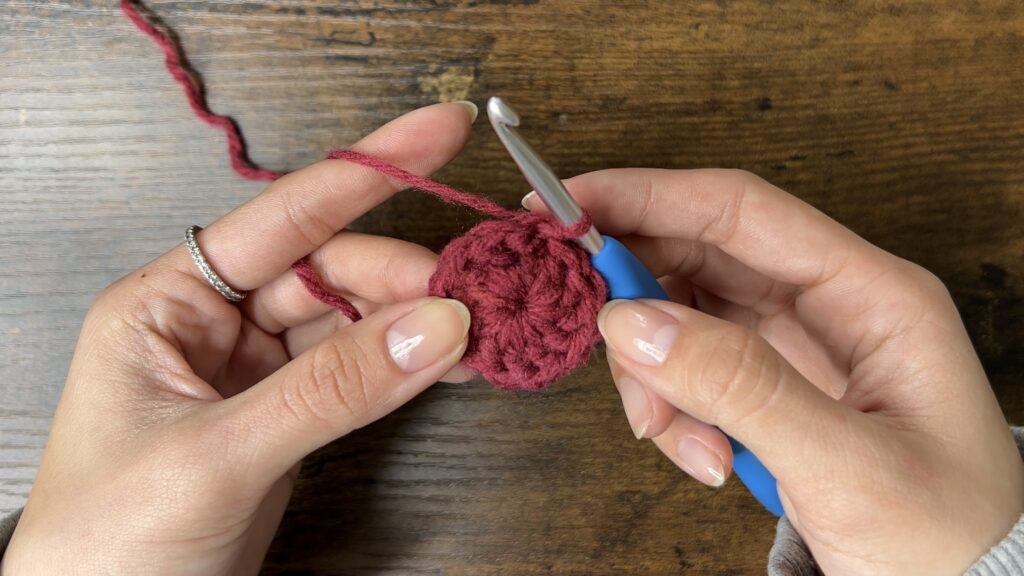
To begin crafting a heart granny square, you need a basic knowledge of crochet stitches alongside yarn and an appropriate hook size. Start by making a slipknot and chain four stitches, joining with a slip stitch to form a ring. Next, create the heart’s foundation by chaining three, which counts as your first double crochet. Continue with two double crochets into the center ring.
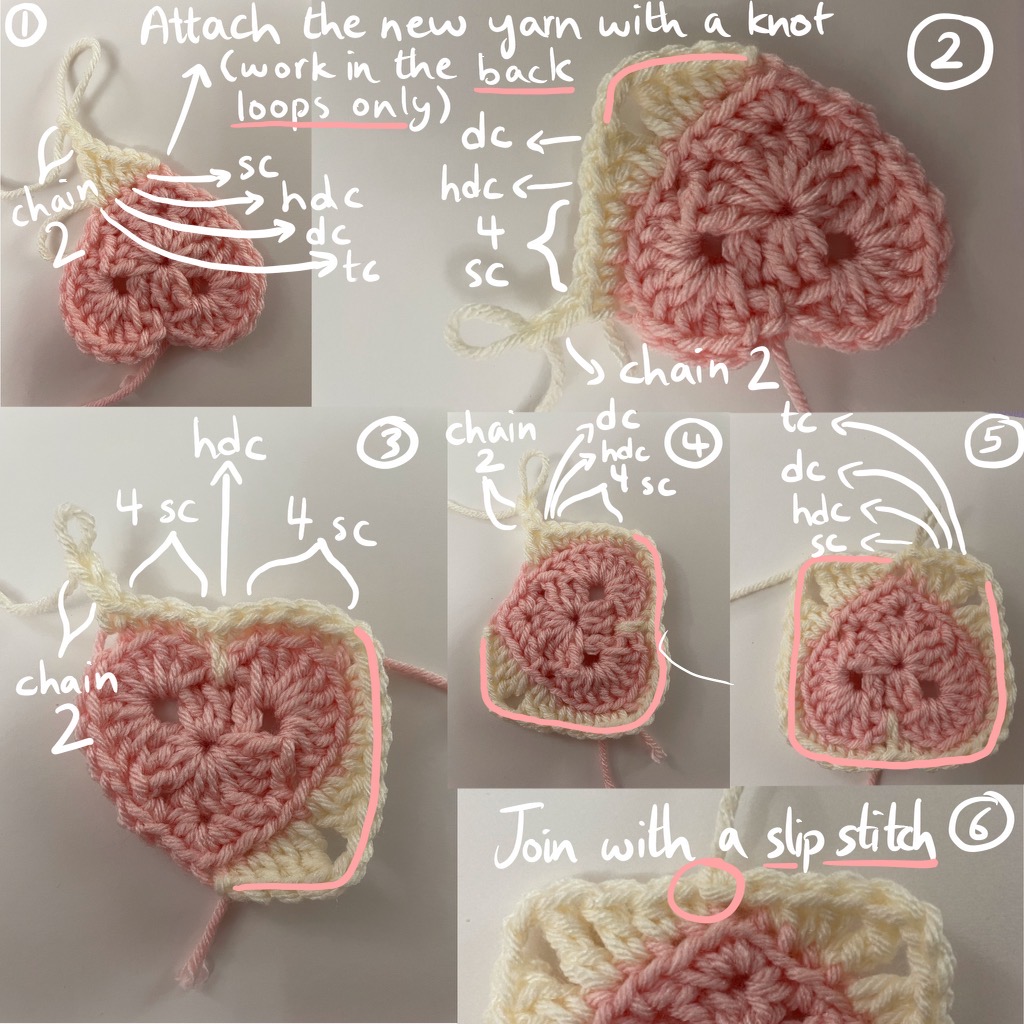
Chain two, and then make three more double crochets into the ring. Repeat this process two more times, ensuring you have four clusters of three double crochets each separated by chain-two spaces. This forms the base round of your square. To shape the heart in the next round, slip stitch in the chain space and chain three. Work two more double crochets into that same space, then chain one.
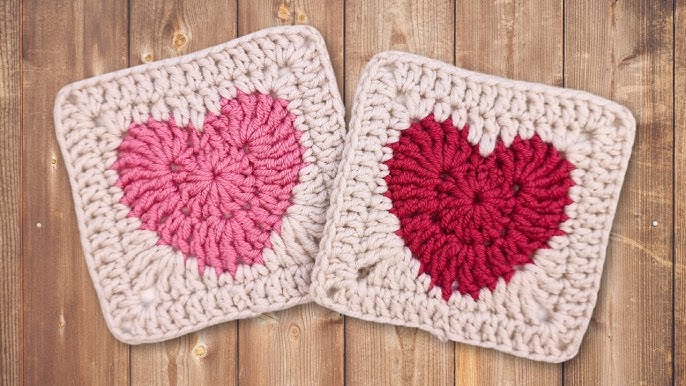
In the next chain space, form your heart’s top by first doing three treble crochets. Chain one between these stitches for separation. Once the top is complete, continue crafting the remainder of the square by placing three double crochets into each space, chaining two at every corner to maintain the square form. Adjust the tension evenly as you proceed. This series of stitches result in an adorable heart within a granny square, perfect as a building block for your bag.
Joining Granny Squares To Form A Bag
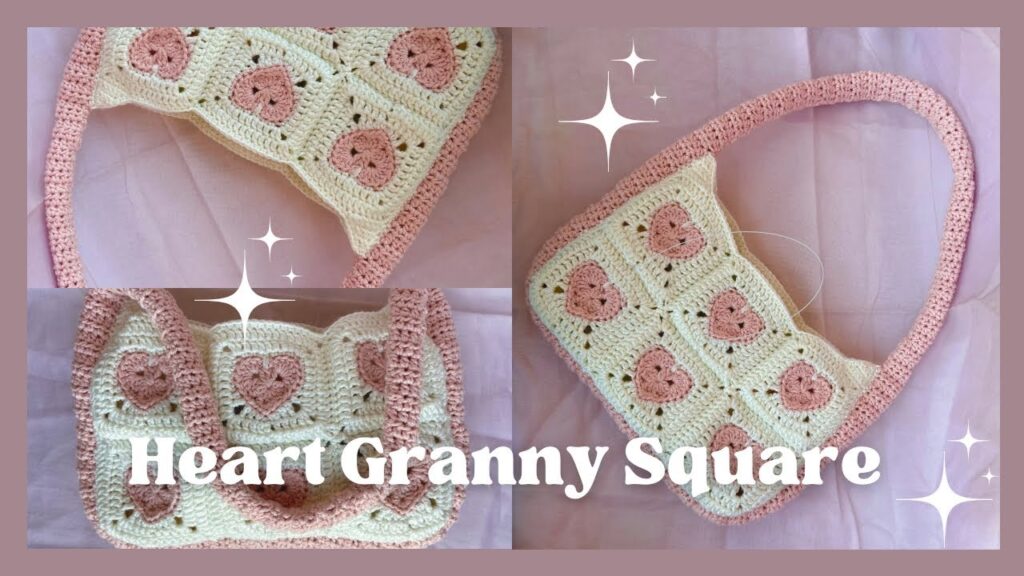
Joining granny squares to form a bag involves a careful process that ensures the final product is both sturdy and visually appealing. Once you have completed crocheting your heart granny squares, lay them out in a design that pleases you, deciding how many squares you would like to use for the front, back, sides, and potentially the bottom of the bag.
Start by joining the squares for one side of the bag. You can use various methods to join them, including slip stitching, single crochet, or the whip stitch. The method you choose will affect the overall look and flexibility of the bag. Align two squares with the right sides facing each other and connect them edge to edge, moving from one corner to the next, ensuring the joins are secure but not overly tight, which could cause puckering.
Once you’ve joined the squares for each row, connect the rows together, maintaining consistent tension. After completing the front and back sections, proceed similarly with the side panels and bottom, if desired. With all panels ready, align them to shape the bag and join edges using your preferred stitch. Ensure the seams are even and robust, providing the bag with structural integrity.
Finally, turn the bag inside out to reveal its pattern, finishing by adding handles or an embellishment of your choice.
Adding Handles And Finishing Touches
Once your granny square bag is assembled, the next step is adding handles and applying finishing touches to ensure both functionality and aesthetic appeal. Begin by selecting a sturdy yarn or a complementary fabric for the handles. If you prefer a crocheted handle, use a single or double crochet stitch to create a strip long enough to comfortably fit over your shoulder or be held in your hand, depending on your preference.
Ensure the handle is dense and robust enough to sustain the weight the bag may carry.
To attach the handles, align each end of a handle to the top edge on either side of the bag’s opening. Secure them with slip stitches or by sewing them with yarn, ensuring they are evenly spaced and firmly attached. Reinforcing the handle connections with extra stitches will prevent wear and tear during regular use.
For finishing touches, weave in any loose ends from your crochet work to ensure a tidy appearance. You might also consider adding a fabric lining, which can provide your bag with additional durability and a polished interior look. An optional button or zipper can enhance the bag’s practicality, keeping contents secure. Finally, gently block your bag to even out stitches and give it a professional finish, making your handcrafted crochet heart granny square bag a functional piece of art.
Tips For Personalizing Your Heart Granny Square Bag
Personalizing your heart granny square bag is a delightful way to infuse it with your unique style and make it truly your own. Start by selecting a vibrant color palette that reflects your personality or matches your favorite outfits. Consider using ombre yarn for a subtle gradient effect or mix and match bold, contrasting colors for a striking look. Adding embellishments is another wonderful way to personalize your bag.
Sew on buttons, beads, or small charms along the edges of the squares or in the center of each heart to add a touch of sparkle and whimsy. You might also consider incorporating different textures by combining yarns of various thicknesses or materials, such as pairing traditional cotton with a touch of silk or metallic thread for a glamorous finish. Customizing the strap length and style also provides an opportunity for personalization.
Opt for a single long strap for a crossbody style, or create two shorter ones for a classic handbag effect. You can even crochet additional motifs like flowers or stars and attach them as accents. Lastly, lining the interior with an eye-catching fabric not only adds durability but also allows you to enjoy a surprise pop of color or pattern every time you open your bag.
Enjoy the creative process of making your bag an expression of your own personal flair.