Discover how to create this stunning crochet honeycomb stitch bag! It’s the perfect blend of elegance and comfort, making it one of my favorite designs yet.
THE CROCHET HONEYCOMB STITCH BAG
Create this charming crochet honeycomb stitch bag and elevate your crafting skills! Grab your hooks and bring this beautiful design to life. Let your creativity shine by experimenting with different color combinations—this bag will look stunning in any shade you choose.
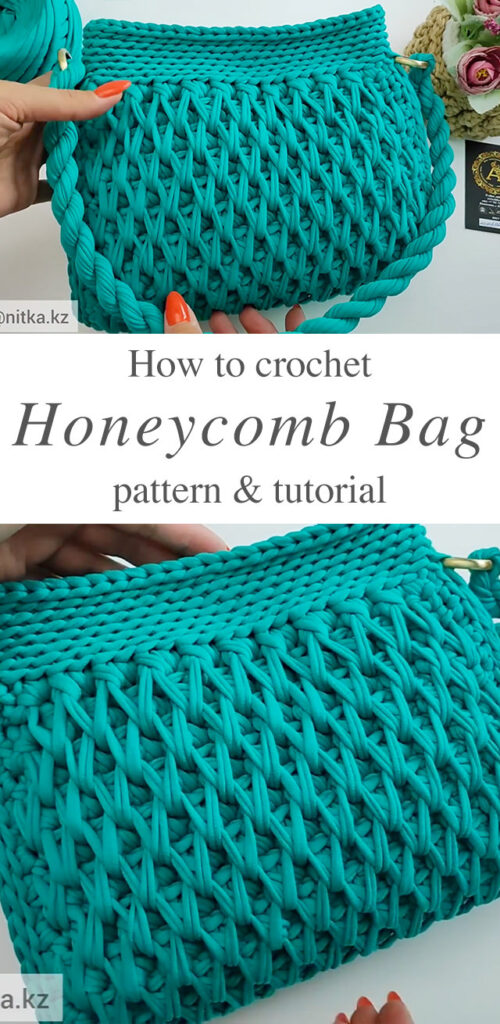
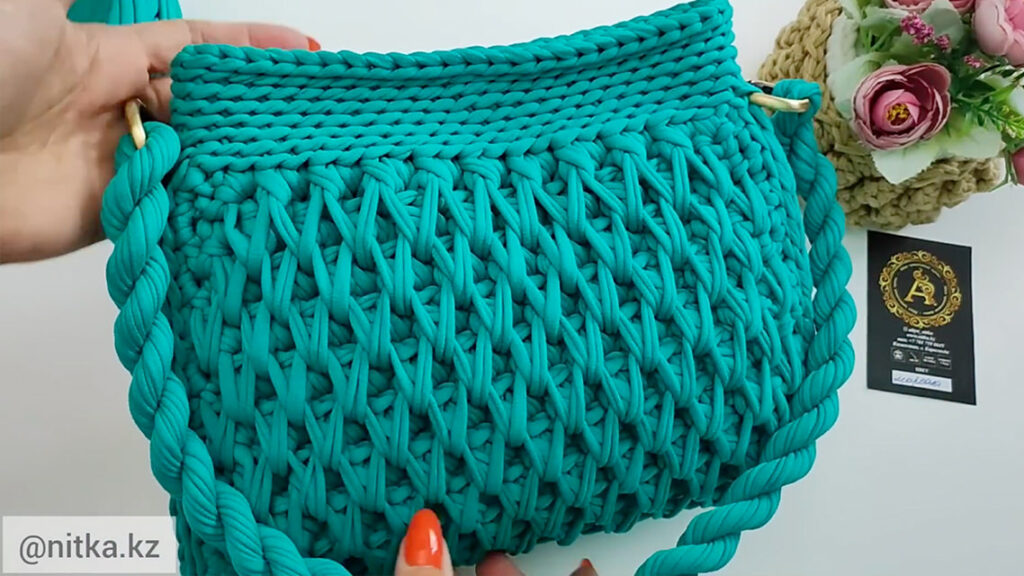
This stitch looks thick, solid, and textured fabric, and using the T-shirt yarn, it works great for bags, baskets, or dishcloths.
Materials
To craft this stylish honeycomb stitch crochet bag, gather the following materials: a 6 mm crochet hook, T-shirt yarn with a thickness of 7–9 mm, a magic button, and two 25 mm rings.
Common Abbreviations:
- Chain(s) = Ch
- Single crochet = sc
- Long Single crochet = Lsc
- Stitch = st
- Slip Stitch = Sl st
- Front post single crochet = Fpsc
- Single crochet decrease = Sc2tog
Pattern of Crochet Honeycomb Stitch Bag
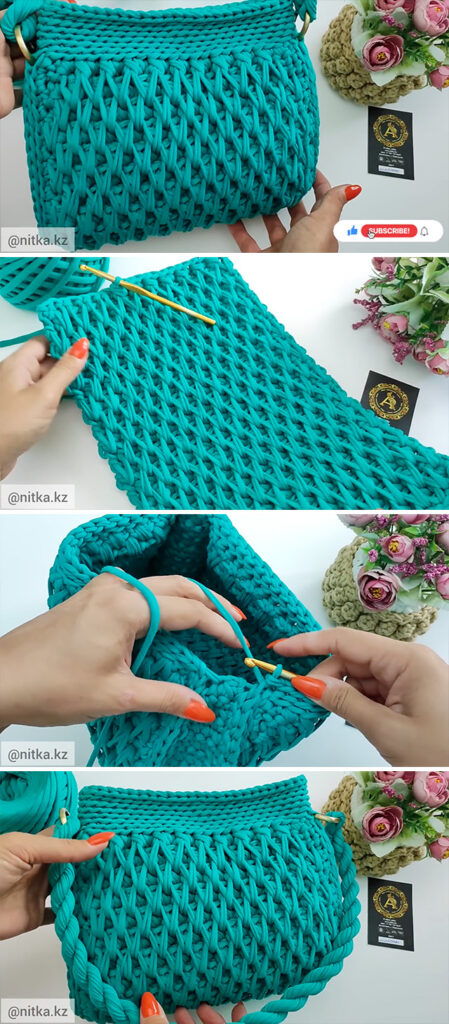
– Begin with ch23. Work a sc in the 2nd ch from the hook. Sc in each of the next chains, and repeat * across the rest of the chain. [22 sts]
– Ch 1, turn, work a sc in the first st, Lsc in the following st. Sc in the next st, Lsc in the next st. Repeat from * to * across the row. [22 sts]
– Ch 1, turn. Sc in the same st. Fpsc into the front loop of the first Lsc and the back loop of the second Lsc. Sc in the next st. Fpsc into the front loop of the first Lsc and the back loop of the second Lsc. Sc in the next st, fpsc into the front loop of the next Lsc and the back loop of the following Lsc. Repeat * across the row until you reach the last 2 sts. Sc in each of the last 2 sts. [22 sts]
– Ch1, turn, Lsc in the same st, sc in the next st, *Lsc in the next st, sc in the next st*, repeat * across until the end. [22st]
– Ch1, turn, sc in the same st, sc in the next st, fpsc in the first loop of the first Lsc and second loop of the second Lsc, sc in the next st, *fpsc in the first loop of the next Lsc and second loop of the next Lsc, sc in the next st*, repeat * across the row. [22st]
– Repeat previous 2 rows for 9 more times.
– Ch1, turn the work 90°, sc across the side of the rectangle piece, ch1, turn the work 90°, sl st to the back loop of the next st, * sl st to the back loop of the next st *, repeat * across the side, ch1, turn the work 90 °, sc across the side, ch1, turn the work 90°, repeat * until the end.
– Don’t fasten off, using another strand of yarn to make sides.
Sides: (make 2)
– Ch5, sc in 2nd ch from hook, sc in the next ch across. [4st]
– Ch1, turn, 2sc in the same st, sc across the row, 2sc in the last st. [6st]
– Ch1, turn, sc in the same st, sc across the row. [6st]
– Repeat previous step for 6 more times. [6st]
– Ch1, turn, sc2tog, sc in the next 2st, sc2tog. [4st]
– Ch1, turn, sc in the same st, sc across the row. [4st]
– Repeat previous step for 2 more times. [4st]
– Ch1, turn, sc2tog, sc2tog. [2st]
– Ch1, turn, sc in the same st, sc across the row. [2st]
– Ch1, turn, sc2tog, fasten off. [1st]
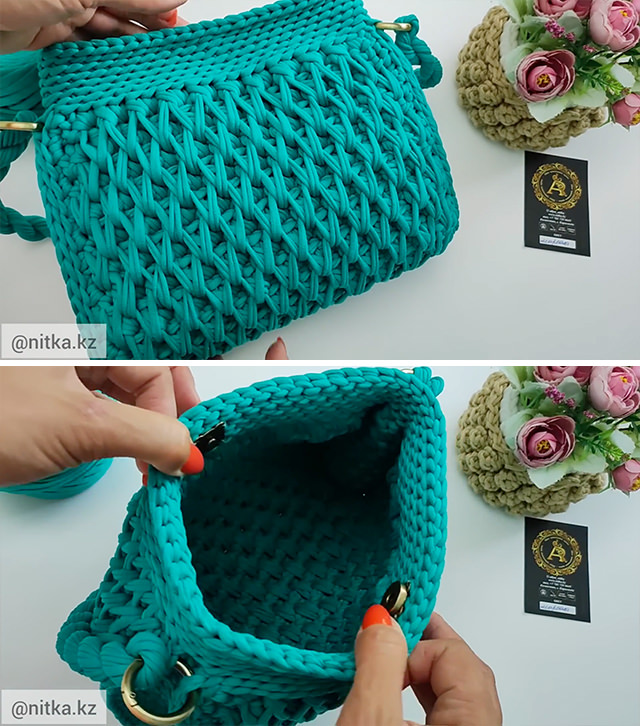
– Sew 2 sides to the rectangular piece using sl st.
– Now we will work across the top of the bag.
– Ch1, *sl st in the back loop of the next st*, repeat * across the round.
– Working in the round, *sl st in the back loop of the next st*, repeat * across the round.
– Repeat previous step for 3 more times, fasten off.
– Sew the magnetic button to the middle of the top of the bag.
– Attach the hand to the bag using the rings.
– Fasten off and weave in all ends.
Tutorial and photos of this crochet honeycomb stitch bag by: Nitka kz.