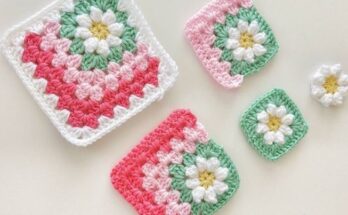
Materials Needed For Your Crochet Tulip
Creating a crochet tulip flower requires a few essential materials that will help bring your floral masterpiece to life. First and foremost, you will need yarn in the colors you desire for your tulip. Most tulips come in vibrant hues, so consider selecting shades of pink, red, yellow, or even purple, depending on your preference. To achieve a more realistic look, choose a natural green for the stem and leaves.
Make sure the yarn you choose is compatible with your crochet hook size. Speaking of crochet hooks, selecting the right one is crucial for the success of your project. A medium-sized hook, such as a 4mm or 5mm, is recommended for standard worsted weight yarn. This will give you the right tension and structure for your crochet tulip. Scissors will be necessary to cut the yarn as you finish each section.
Additionally, a yarn needle is helpful for weaving in loose ends and attaching different parts of the flower, such as the petals to the stem. For added structure and stability, you may also want floral wire to help your tulip stand upright. Finally, a stitch marker might be useful if you are following a complex pattern or need to track where the rounds begin and end.
Creating The Tulip Petals
Creating the tulip petals is a delicate process that brings the floral crochet pattern to life with intricate detail. To start, choose your desired yarn color for the petals—typically a vibrant shade to mimic real tulips. Begin by making a slip knot and chain a small number of stitches, usually around ten to twelve, depending on the size of the petal you wish to create.
Next, you will work a series of stitches back along this chain to form the first half of the petal. A combination of single crochets, half double crochets, and double crochets will be needed to add texture and shape, with an increase at the midpoint to create the characteristic curve of a tulip petal.
As you reach the end of the chain, turn your work and mirror your stitches on the other side to complete the petal’s shape. This involves working down the second side of the chain with the same variety of stitches, ensuring symmetry. Once at the tip, create a small chain and secure it with a slip stitch to form a smooth edge.
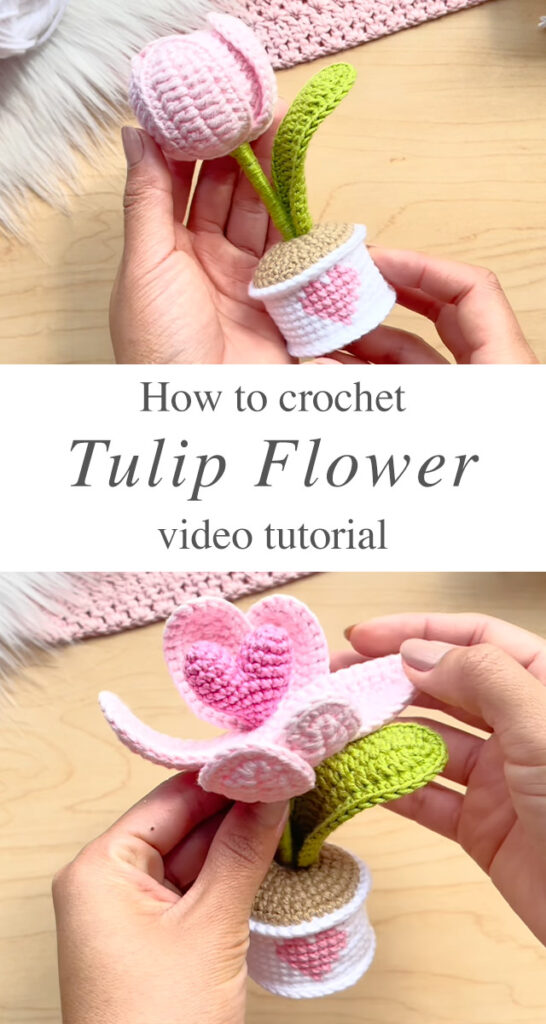
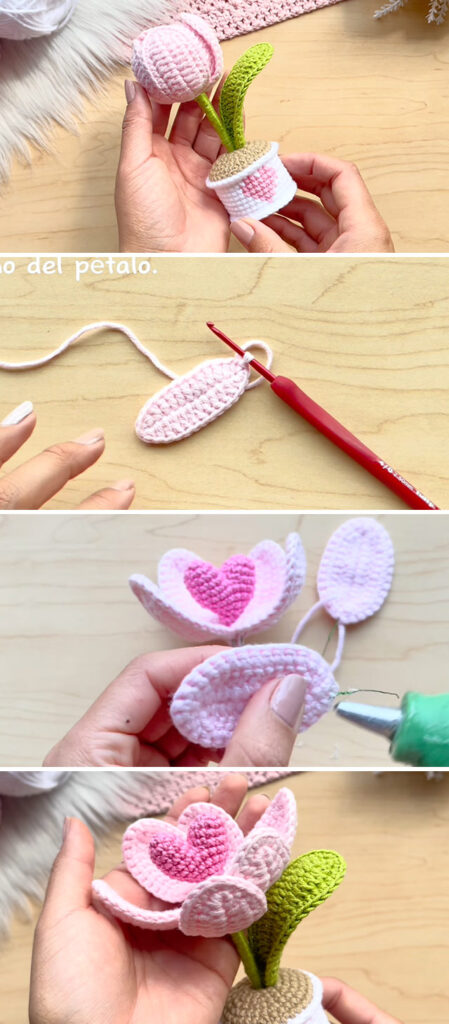
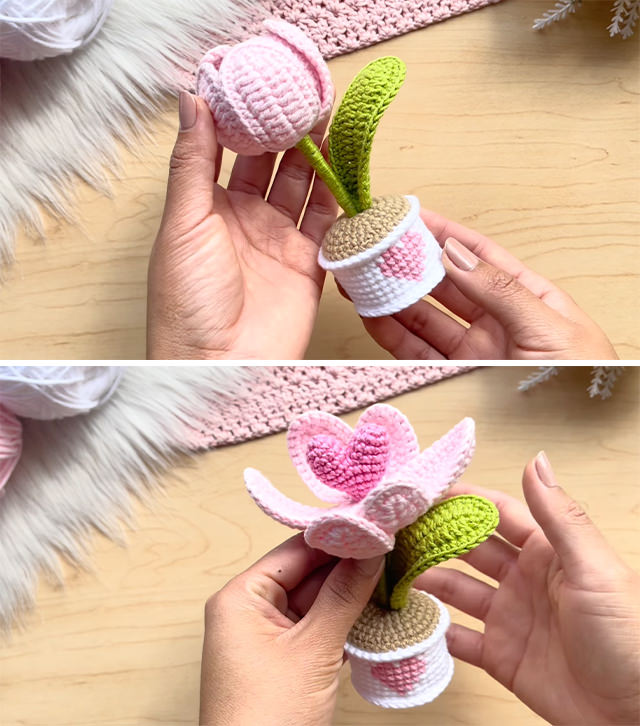
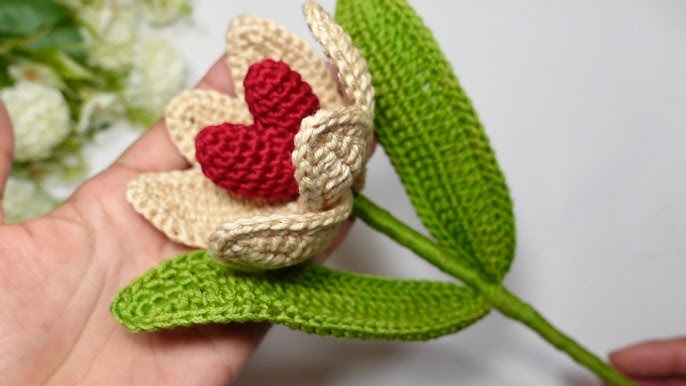
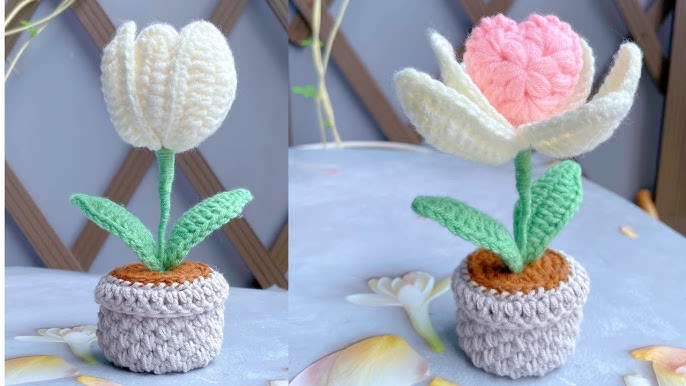
Repeat this process to create multiple petals. Typically, three to four petals are needed for a realistic tulip blossom. After crafting the desired number of petals, you’ll sew them together at the base, allowing them to naturally overlap, thus completing your crochet tulip’s beautiful bloom.
Crafting The Tulip Stem And Leaves
In crafting the tulip stem and leaves for your crochet project, you’ll bring the foundation of your flower to life, adding a touch of realistic beauty and structure. Begin with a green yarn that complements the vibrant color of your tulip petals. To crochet the stem, start with a basic slip knot, leaving a long enough tail to weave in later.
Proceed by working a chain of the desired length, keeping in mind the tulip’s natural height. For sturdiness, work back through the chain using single crochet stitches, giving the stem a firm yet flexible body. You may even opt to insert craft wire into the finished stem for additional support and to maintain its upright position.
Next, focus on the leaves, which add a rich, organic texture to your creation. For each leaf, start with a chain that matches the length you envision for your leaf. Work single crochet stitches up one side of the chain and then around the end, continuing back down the opposite side to form an oval shape. Gradually increase the number of stitches as you crochet towards the center, imitating the natural curve and width of a tulip leaf.
Finish each leaf with a slip stitch to secure the yarn, and leave a tail for attaching it to the stem. As you stitch the stem and leaves together, your crochet tulip will begin to resemble a lifelike spring blossom.
Assembling Your Crochet Tulip
Once you have completed crocheting all the individual pieces of your tulip—the flower head, leaves, and stem—it’s time to assemble them into a beautiful, cohesive bloom. Start by taking your flower head and threading the tail of yarn through a tapestry needle. Insert the needle through the bottom center of the flower head and weave it through the base several times to secure the shape.
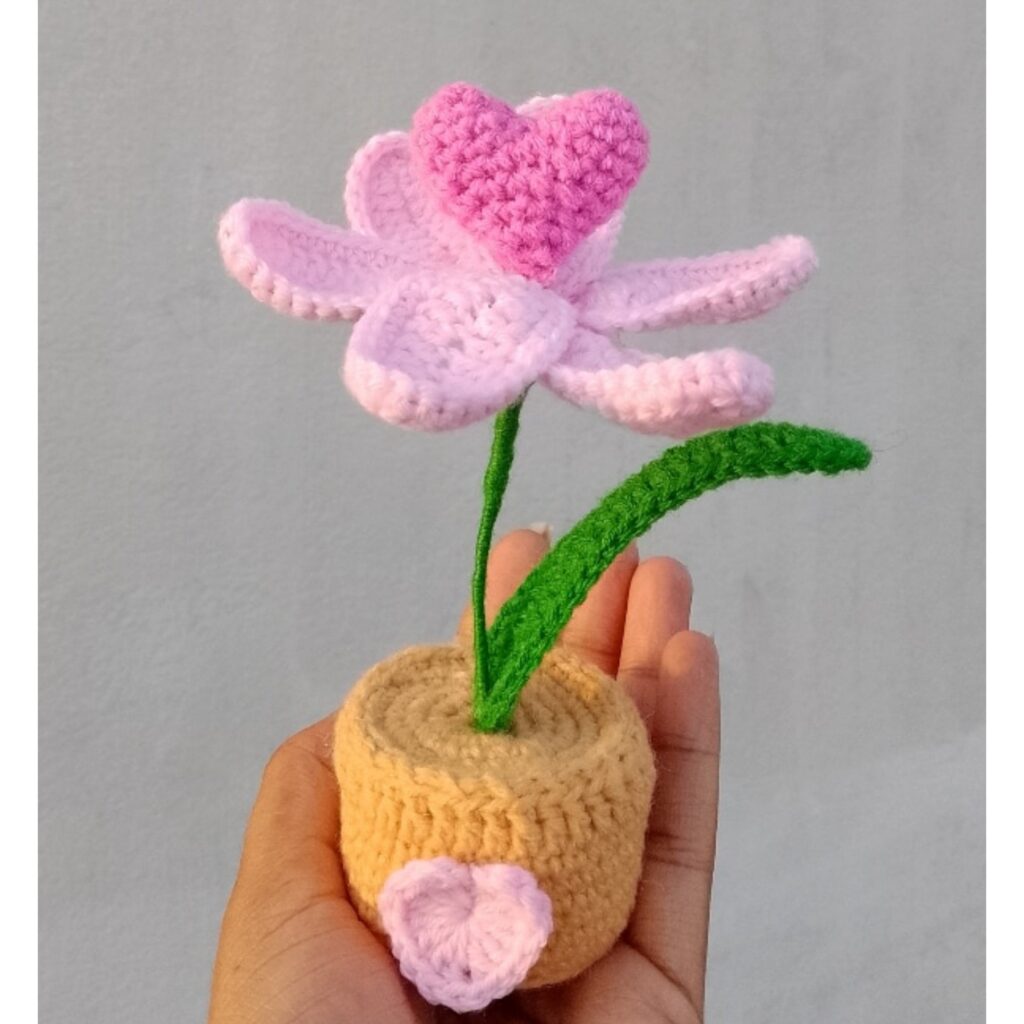
Depending on your preference, you can give the petals a gentle tug to adjust their positioning, ensuring that they curve outward naturally, mimicking a real tulip’s bloom.
Next, focus on attaching the flower head to the stem. Take the stem piece, which should be a sturdy tube of green yarn, and push the needle with the flower head’s tail through the top. Pull it through and secure with a few stitches, ensuring it’s centered and straight. Weave in the excess yarn and trim any excess while making sure the head sits flush against the stem.
Once the tulip head is securely in place, position the leaves on either side of the stem. Use matching green yarn to attach them, sewing the top of each leaf to the stem a short distance below the flower, allowing them to fan out gracefully. Carefully stitch both leaves, ensuring they are symmetrical for a polished, natural look. After all pieces are secure, weave in the remaining yarn ends to complete your crochet tulip, ready to accent any décor arrangement.
Tips For Customizing Your Crochet Tulip
Customizing your crochet tulip can be a delightful way to infuse personal flair and creativity into your project. One of the easiest ways to make your crochet tulip unique is by experimenting with different yarn types and colors. Variegated yarns can create a dynamic, multicolored effect, while using pastel shades might offer a more subtle, delicate appearance. Selecting a yarn with a shimmer or a metallic sheen can also add a touch of elegance and sophistication to your creation.
Changing the size of the crochet hook can greatly alter the appearance and texture of your tulip. A larger hook will produce a looser, more open flower, whereas a smaller hook results in a tighter, more compact bloom. This simple tool adjustment can significantly shift the look and feel of your tulip. You can also embellish your tulip with beads, sequins, or embroidery to add dimension and interest.